Hi there lovely Filofax-lovers!
Ready for the follow up on the Mini Experiment?
If you missed first part, click right here to get all caught up.
Then come back here and let’s have some more “mini” talk. DIY project included!
How to make a Mini Filofax work as a wallet!
It is a tough restrictive call, yes, no lying on that, but it is very very possible to do it.
The lack of card slots {the huge drawback} is nothing to fear and I will talk about that in a sec.
{Actually after I figured out the slots issue I ended up with three minis! Ooops! Hehehe. One Chameleon and two Finsbury.}
So, many centuries ago when I was naïve enough to believe I was going to pick one size/model and stick with it, I was perusing the net and found a fun little DYI project.
I thought, “Aha! Great idea! If I decide to go with a mini size, I would certainly do that”.
Well, I decided “to go” with all sizes because I get into cycles, loving all and each one of them for different reasons at different times. 😀
Even thou loving all, I was never able to combine {for too long} a wallet with calendar, to-dos and such. So very early on my Filofax journey I decided to separate both. I rescued from old dusty bookmarks that DIY project, *aham* got a new Filofax {I really needed for the DIY thingy} and got to action.
I was going to send you guys directly to that tutorial but I found out that the post is not available anymore.
Fret not, because it is a very easy project. I don’t have pictures of the process {cause I did it a long time ago}, but bullet points will get it done:
First the materials:
- Old business cards book
- Duck Tape
- Scissors
- Filofax-friendly whole punch
Here all them together {minus scissors that I forgot to add to the group}:
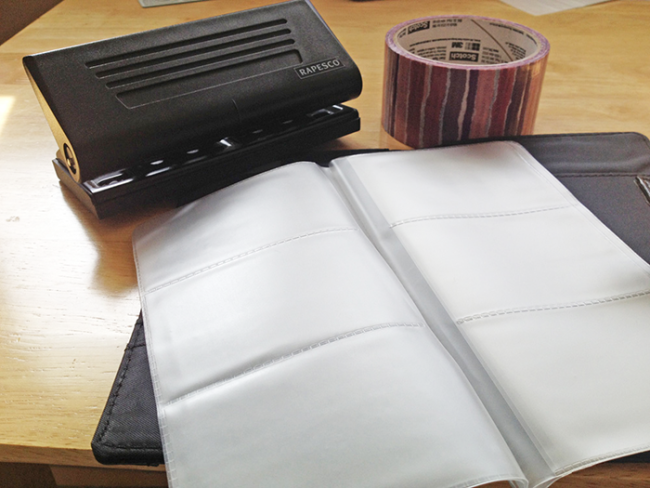
Instructions:
- Detach the business card holders out of the book.
- Cut a piece of duck tape a bit longer then the height of each card holder.
- Tape each card holder on the edge {where you will whole punch it} making sure that the tape folds to the backside to make it sturdier.
- Trim the edges
- Whole punch them
And Ta-daaaa!
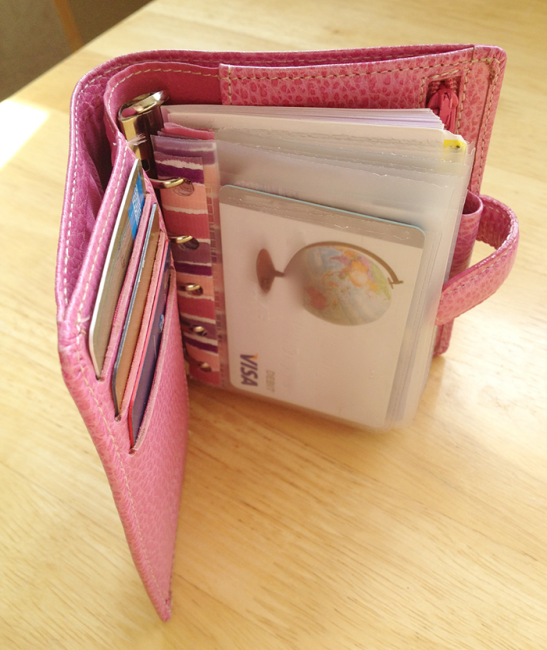
Extra card slots all ready to go! Here is how mine look like:
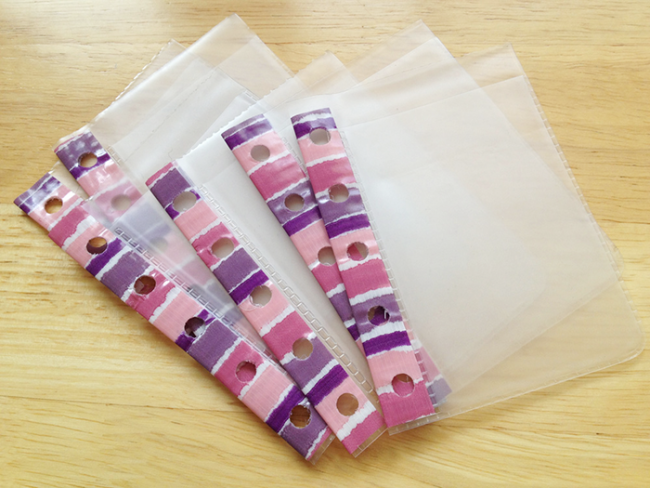
Now, in action:
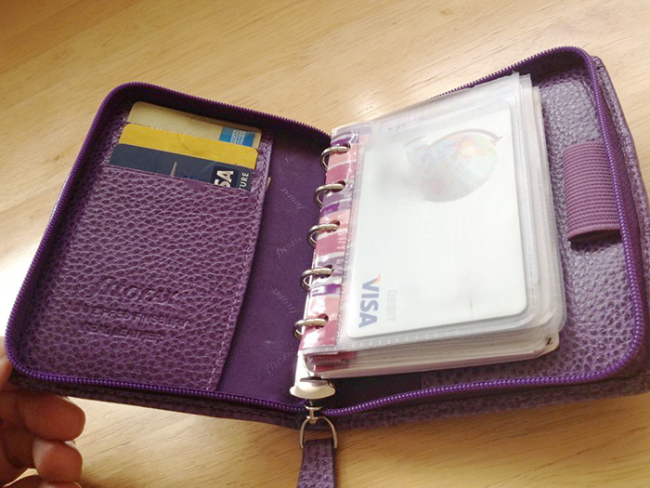
I even have room to add more cards!
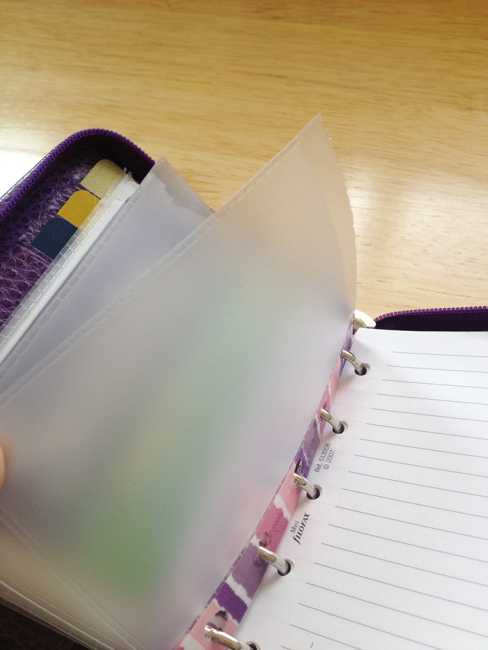
Card slots shortage all solved.
Oh, and minis are great to keep your shopping lists too!
I have each of the stores I visit more frequently all in a designed tab. At home if I remember something I just write down under the store name. So when I am out and about and pass by one of the stores I have my list ready.
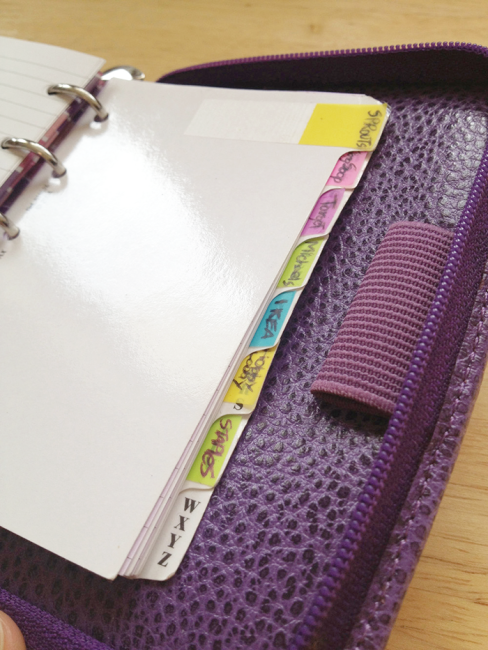
And mind you, I even have the option to choose between a zipped or clasp one. Hehehe. Both are GREAT!
This was only made possible because the Philofaxy community is just above and beyond amazing. A community member found that preciousness and handed it over to me. Just like that! And I have been using it ever since. 🙂 Totally perfect for the purpose!
Besides the DIY project there are two other reasons this lovely Zipped Finsbury fits so well as a wallet:
- NO Pockets! Yes, oddly enough I love the fact that are no pockets. There is only a tight one in front. Why would I love a no-pocket Filofax?
Because there is no room to tuck in a gazillion of useless receipts! The important ones I squeeze into the front pocket which forces me to always do something with them when I get home; log, file, etc. So the lack of pockets is actually a great way to keep it neat!
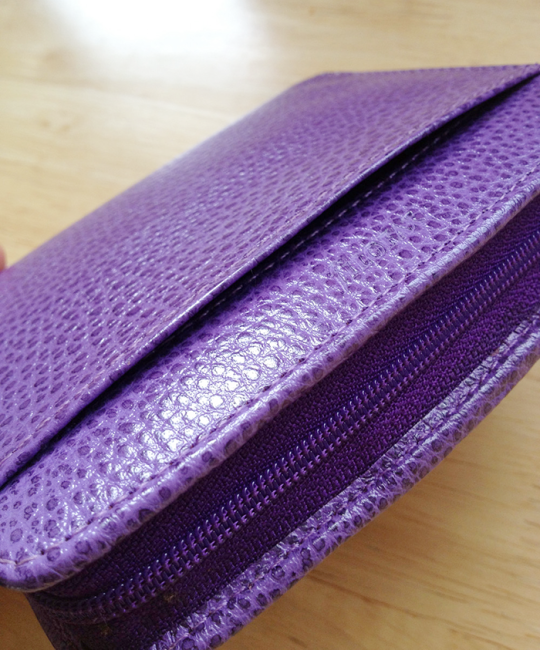
- It is very sturdy, so it keeps its squeezable-yummy-round shape all the time. I love to hold it! It is very hand-friendly. Hehe
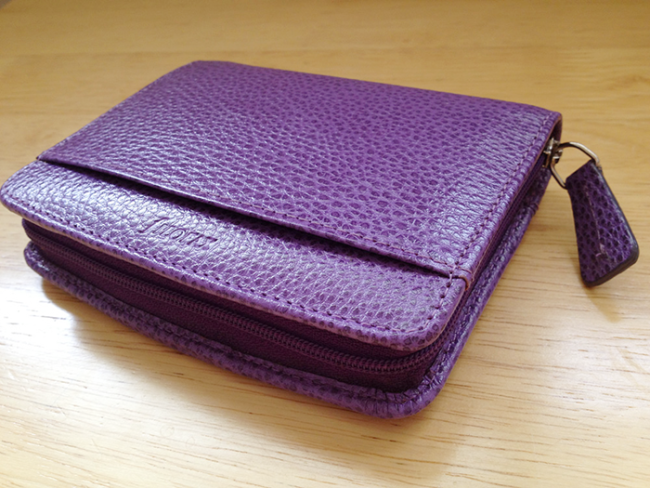
NOW the best part!
I have a “travel” mini-wallet as well – The Finsbury with a clasp.
I love that one too because of course, it is transferable, all cards and lists can be used the same way:
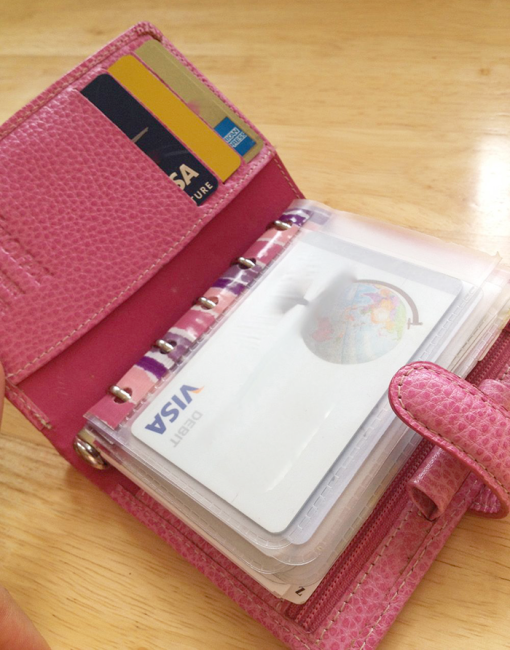
AND it is “tip-friendly”. Meaning, on my daily routine I rarely carry cash with me so I don’t miss a cash slot on the zipped one, but in trips where there is always someone to tip, I do need that feature!
And there it is the cash slot handy and awesome:
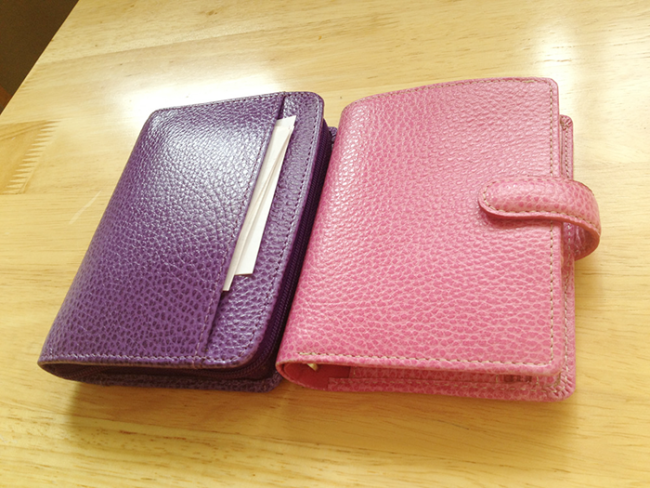
And now both beauties together {because we all know that Filofax picture-drooling is fun!}
So there you have it, my mini Filofax love-post part 2
I have been using that system for months now and I hadn’t messed with it or wanted to mess with it! How amazing is that? 😀
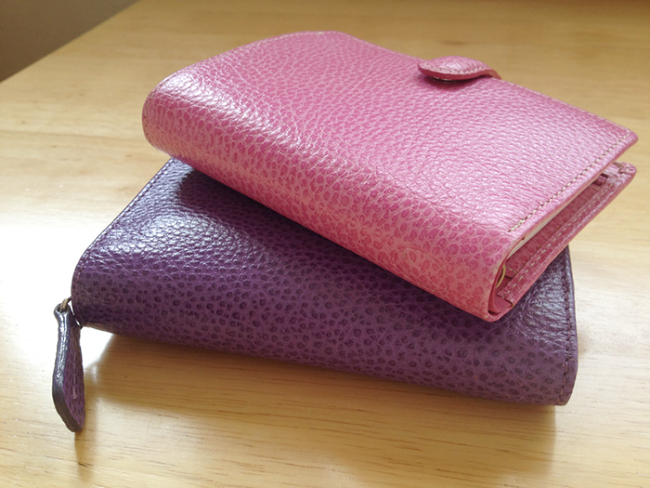
One last shot {really last one, promise!} and I leave you guys with my warmest wishes of a great Filofax day to you all!
Smooches,




I think now you’ve got me wanting a mini haha! Love how creative you are! The card inserts you made are great!
Mariana, #sorrynotsorry you now want a mini, hehe. 😀
Fitrahjannah81@gmail.com
I am in love with that zippered mini – they don’t make them any more, do they? What a pretty colour, too. <3
I don’t think they do Penemuel, BUT the Pennybridge is a bit similar. And the zipped Malden as well 🙂
Hi! This is blog is from awhile ago, but it was really helpful when I got my first mini finsbury with the clasp! Thank you! I have been on a long an desperate search though for the Zipped Malden in the pocket size like you mentioned in your comment. You wouldn’t by chance have one you’re willing to part with or know someone who does? It’s my total dream planner and I’ve been dying to find one!
Hi Aba, sorry just seen this now. I don’t have any at the moment to part with.
What is the name of the Filofax zipped planner?
The DIY is b-r-i-l-l-i-a-n-t.
The zipper mini Filofax will be mine. Mine. All mine! Muuuhahahhaah!
hahahaha love the evil laugh!!! Yes, it will be yours! 😀
Thanks for the great tutorial on the card holders. I’ve seen them with all kinds of taped edges, but I like that you took the 3 to a page business card holder and cut the middle one in half to make your edge for the holes and pretty duct tape is way stronger than washi tape like most tuts use. I may just be in the market for a mini!
Yay Dena, so glad it was helpful! If you ever do them yourself let me know how it turned out 🙂
It´s great….wonderful
🙂
This was Great! I have been dreaming of a wallet in this manner. It seems to address all my issues of keeping my cards in order. From debit to credit to gift cards, etc. Thanks! You got me motivated 🙂
Super welcome Cynthia! If you end up doing it come back here with a link to your pics, ya? 🙂
I love the clever slots! But tell me how you’re using the mini? I read somewhere on this site that your planner and printables are not available in this size. Are you just using this as a daily?
HI sweets, I use it as you see in the post – as a wallet and shopping list. No calendar. It’s too tiny 🙂
Where can I get a mini and all paperwork for it
Hi from Germany,
I love your blog- so inspiring! Thanks a lot! ♥
yay Christine! So glad you like my blog. Thanks for reading 🙂
Wow! Thank you for the great ideas! The dividers with shop names is so awesome! I am very keen to set up something like this for myself!
yay! So glad this could help you Cherie! Share some pics when you finish your project. 😉